
Classic Double Pie Crust
By King Arthur Flour
There are probably as many pie crust recipes out there as there are bakers. Many of us struggle with pie crust; this crust is a good go-to recipe for those of you who haven't yet settled on a favorite. Easy to roll, buttery-tasting, and somewhere between flaky/crumbly, it's like an old friend: reliable and forgiving. This recipe makes two crusts, enough for a double-crust pie or two single-crust pies.
IngredientsCrust
2 1/2 cups (300g) King Arthur Unbleached All-Purpose Flour or 2 1/2 cups (283g) King Arthur Pastry Flour Blend
1 1/4 teaspoons salt*
1/4 cup (46g) vegetable shortening
10 tablespoons (142g) unsalted butter, very cold
6 to 10 tablespoons (85g to 142g) ice water**
*Reduce the salt to 1 teaspoon if you use salted butter.
**Use the lesser amount of water if you use Pastry Flour Blend.
Topping (optional)2 teaspoons milk
1 tablespoon coarse sparkling sugar
Directions:
Weigh your flour, or measure it by gently spooning it into a cup, then sweeping off any excess.
Weigh your flour, or measure it by gently spooning it into a cup, then sweeping off any excess.
In a medium-sized mixing bowl, whisk together the flour and salt.
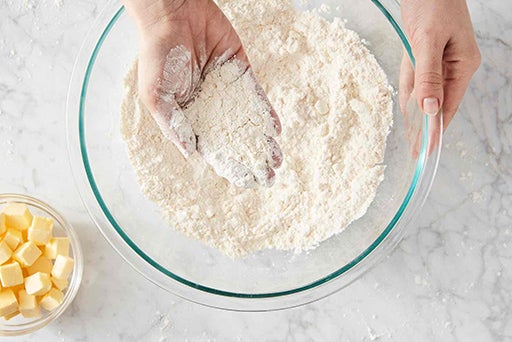
Add the shortening, working it in until the mixture is evenly crumbly, like coarse beach sand; you want everything thoroughly combined.
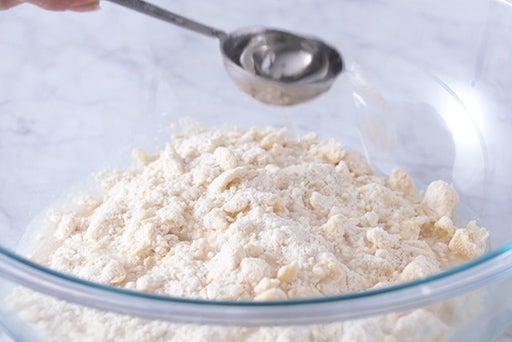
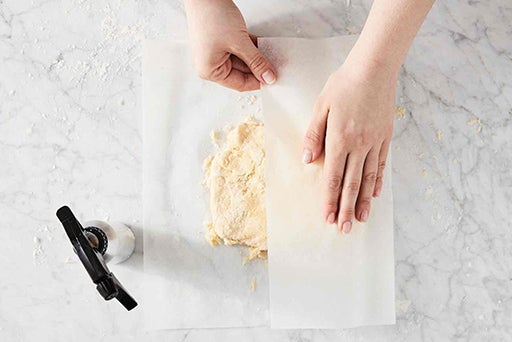
Add enough additional water to make a chunky, fairly cohesive mixture. It should hold together when you gather a bit up and squeeze it in your hand. Beware of kneading the pastry too much and/or adding too much water, as this will toughen the crust.
Tip: Why do we use both shortening and butter in pie crust? Shortening, thanks to its relatively high melting point, helps crust maintain its structure, preventing your pretty crimp or other decorative touches from collapsing as the pie bakes. (If you prefer not to use vegetable shortening, try our All-Butter Pie Crust.) Butter, along with its wonderful flavor, helps promote flakiness.
Cut the butter into small (about 1/2") cubes.
Add the butter to the flour mixture, and work it in roughly with your fingers, a pastry cutter, or a mixer. Don't be too thorough; the mixture should be quite uneven, with big chunks of butter in among the smaller ones. People get nervous about pie crust, and in their anxiety they tend to work the dough too much. Working the butter in completely makes a mealy crust rather than a flaky one
.
Drizzle 4 tablespoons of water over the flour mixture, tossing gently to combine.
.
.
Divide the dough in half. Gather each piece into a rough disk. Smooth the disks; it's OK if they have a few cracks in the surface. Smooth their edges by running the disks along a floured surface like a wheel
. 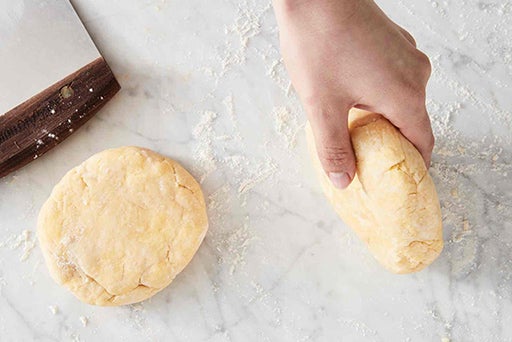
Wrap the crusts in plastic or your favorite reusable storage wrap. Chill for 30 minutes, or up to overnight. Or wrap in aluminum foil over the plastic, and freeze for up to two months.
*For complete details on finishing your pie (including rolling the pastry, transferring it to the pan, adding filling and top crust, and baking), please see our Pie Baking Guide.
Tip: Chilling hardens the fat in the dough, which will help the crust maintain its structure as it bakes. And the short rest before rolling relaxes the dough’s gluten, helping prevent a tough crust. If you want to make your pie later, wrap the pastry disks in aluminum foil over their first wrap, and freeze for up to two months.
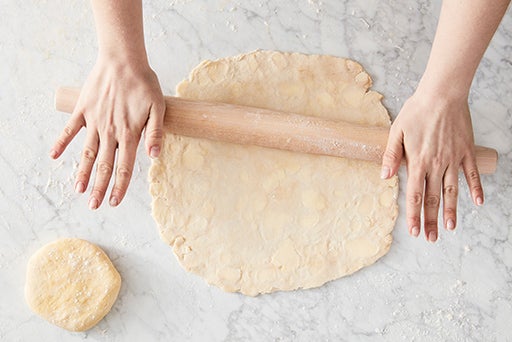
Roll out the dough:
When you're ready to make pie, remove the crusts from the refrigerator or freezer, leaving them wrapped. Allow to thaw (if frozen) or warm a bit at room temperature (if chilled longer than 30 minutes), until softened enough to roll but still cold to the touch. Place the crust on a floured work surface; our silicone rolling mat is a great choice. Roll one piece of pastry into a 12" to 13" round. As you roll, you’ll notice big chunks of flattened butter in the pastry; that's a good thing, as they’ll translate to flaky layers.
Transfer To The Pan:
Lightly grease the pie pan with non-stick spray; this will make taking slices out of the pan easier later. Fold the crust in quarters and place it in the pan with its tip in the very center of the pan; then unfold and settle it gently in the pan. Or simply pick it up with a large spatula and move to the pan. Tent the crust with plastic wrap or the covering of your choice, and place it in the refrigerator while you make your filling.
Tips From Our Bakers:
Gluten-Free Classic Double Pie Crust.
Looking for a pie crust recipe that doesn't use shortening? Try our All-Butter Pie Crust.
Looking for a pie crust recipe that doesn't use shortening? Try our All-Butter Pie Crust.
If you're using an odd-sized pan, here's how to determine what diameter to roll your crust. Measure the pan's bottom diameter, then up the sides. If your pan is 7" across the bottom, and 1 1/2" up each side, that's a total of 10". This means you should roll your bottom crust to a diameter of about 12", which gives you enough extra for crimping the edges.
Be sure to use cold butter and ice water when making the crust; it helps keep the butter and shortening from dispersing throughout the dough, which in turn helps keep the crust flaky. Also, resting the dough in the refrigerator, both after mixing and rolling out, will dramatically increase the quality of your results by firming up the fats in the dough, helping it stay flakier.


No comments:
Post a Comment