Showing posts with label Feasting At Home. Show all posts

Tuesday, October 7, 2025

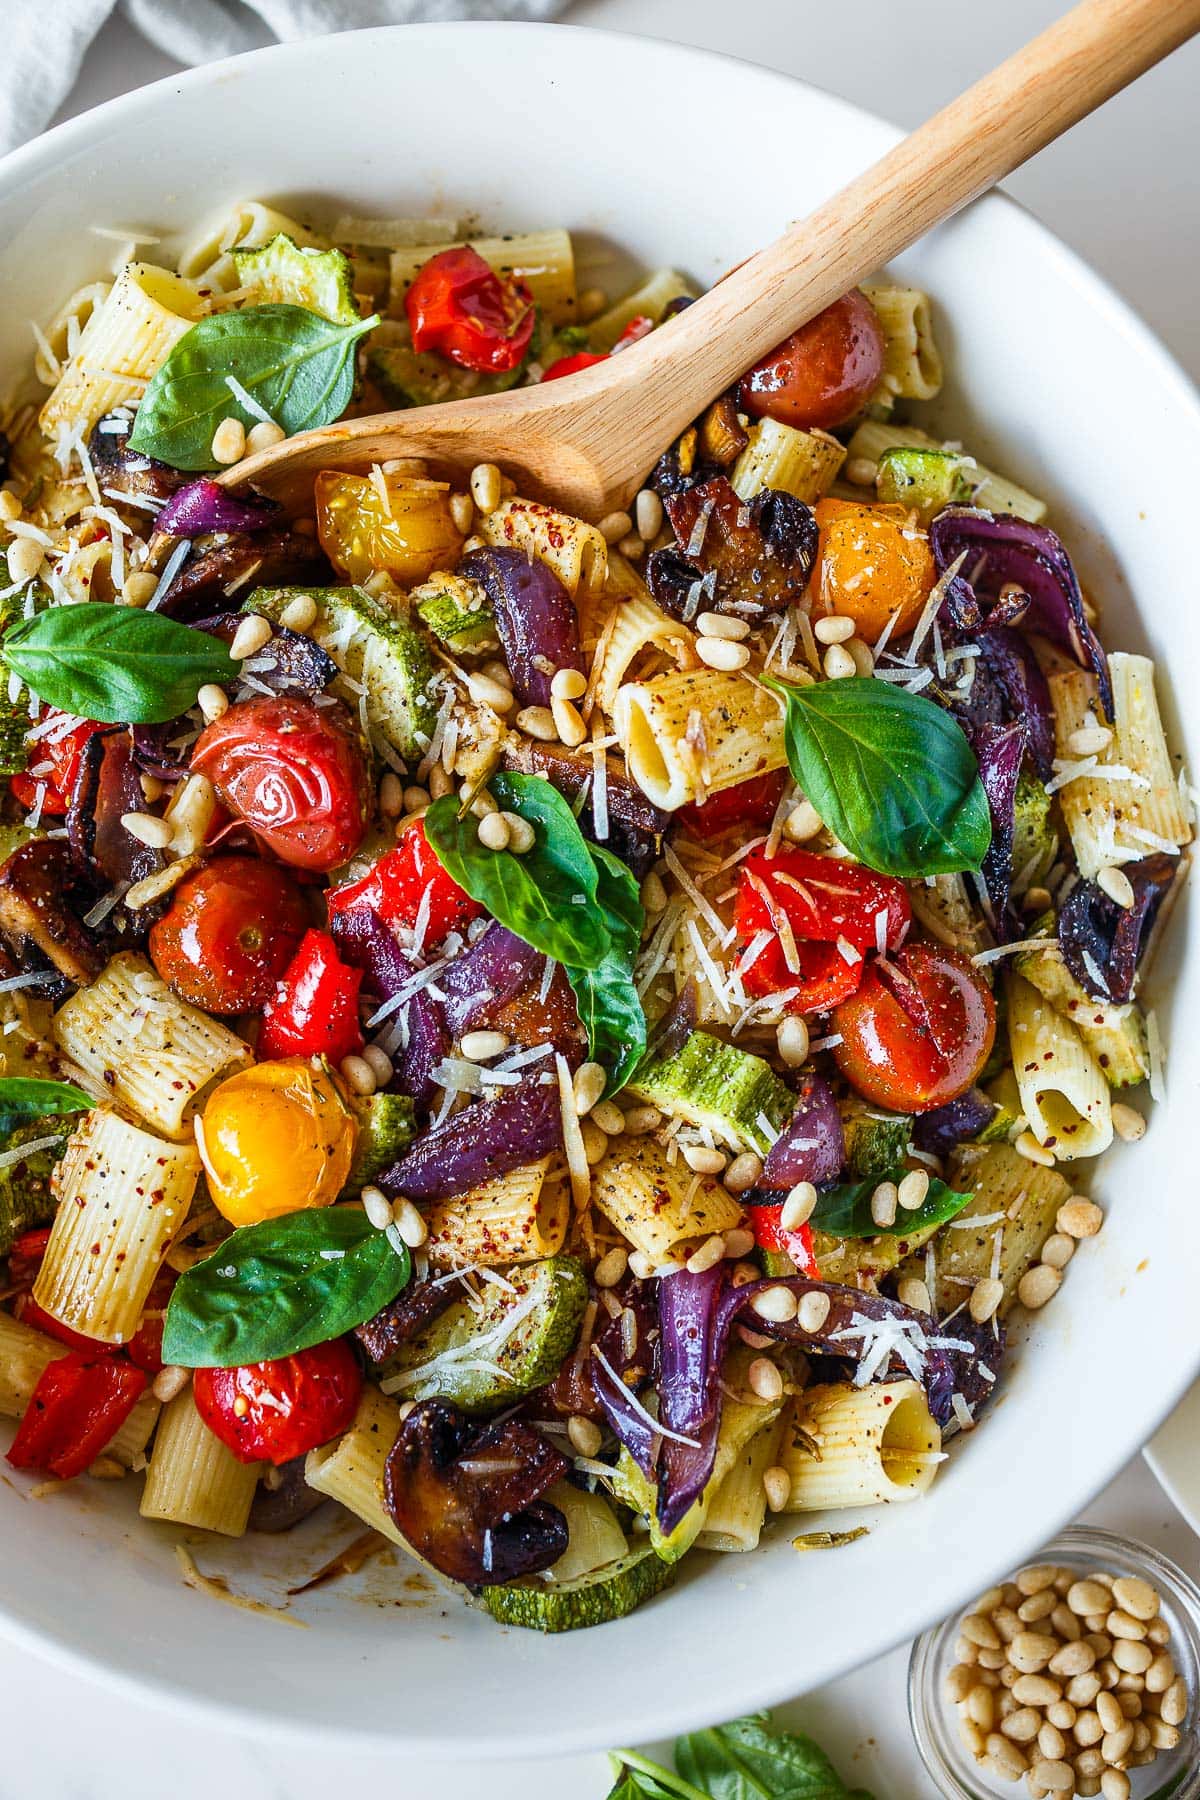
Roasted Vegetable Pasta

Roasted Vegetable Pasta

Dig into a bowl of Roasted Vegetable Pasta, with garden-fresh veggies caramelized to sweet perfection.  Tossed with olive oil, garlic, and herbs, this fast, flavorful dish tastes like late summer in every bite.
Ingredients:
1 pound zucchini – about 2 medium zucchini cut in 1/2 moon slices
1 red bell pepper, chopped in one inch bite-sized pieces
8 ounces cremini mushrooms, cut in half or quarter depending on size
1 red onion, sliced in 1/4 inch wedges
1 pint cherry tomatoes
4 tablespoons olive oil, divided
2 teaspoons Italian seasoning, divided
8 ounces dry pasta (we used rigatoni)
1/4– 1/2 teaspoon red pepper flakes
6 cloves garlic, chopped fine or grated (1/4–1/3 cup)
1 tablespoon fresh rosemary, finely chopped (Optional)
1 lemon zested and juiced
salt to taste
black pepper to taste
1/2 cup fresh basil leaves torn
1/2 cup pecorino cheese or parmesan cheese, grated
Directions:
Preheat oven to 425°F.
Chop zucchini, bell peppers, mushrooms, onion. Place zucchini and bell peppers in a bowl and toss with a few teaspoons of olive oil, salt, pepper, and 1 teaspoon of Italian seasoning. 

Spread onto a baking sheet- the more room the better they will roast, if too crowded the veggies will steam rather than caramelize. 
Do the same with the mushrooms, red onion, and cherry tomatoes: place in a bowl, toss with a tablespoon of olive oil, salt, pepper and 1 teaspoon Italian seasoning and spread onto another baking sheet. 

Bake. Roast the veggies in the oven for 20-25 minutes, until tender and slightly caramelized. The zucchini tray is usually done in 20 minutes.

Pasta. Cook pasta in a large pot of salted water (important for flavor) to al dente while veggies are roasting. Drain and save 1 cup of hot pasta water.

Saute. In a saute pan, add remaining olive oil (or use 1/2 butter), sauté red pepper flakes and garlic, turn heat to medium low, add rosemary. Let the garlic soften and cook through, stirring all the while- if it is starting to get golden before it cooks through, add a little pasta water.

Combine. Add cooked pasta to the pan and toss. To loosen, add a little hot pasta water if desired. Add lemon zest, salt and pepper to taste. Toss in the roasted veggies. 

 *Adjust flavor again as needed, with more salt, pepper, lemon juice, pasta water, or a drizzle of olive oil.

Garnish. Top with pecorino cheese, basil, and optional pine nuts.

Notes:
Optional toppings: toasted walnuts, pinenuts, dollops of pesto, or vegan cheesy sprinkle, vegan parmesan cheese, 

Flavor enhancers: extra squeeze of lemon juice or a drizzle of sherry vinegar or white balsamic vinegar or a few chopped anchovies, capers, or olives (sauté in with the garlic).

Store leftovers in the fridge in a sealed airtight container for up to 3 days. Delicious for lunch – cold or warmed up!

For a rich and creamy version, omit the pecorino cheese (or use both) and stir in 4-6 ounces of creamy goat cheese with the warm pasta before adding the veggies.


Thursday, April 21, 2022

Thai Larb Salad

Thai Larb Salad
A fresh and flavorful recipe for Thai Larb Salad using your choice of ground chicken, turkey, beef or lamb! Serve this with lettuce wraps or rice, or both!  Served 3/20/22.  Excellent Flavor!
Ingredients:
1/2 cup hot water
2 tablespoons vinegar- white or rice wine
1 red onion (divided, see instructions)
——-
3 garlic cloves, rough chopped
4 tablespoons lemongrass, finely minced
1 teaspoon chili flakes, more to taste
16 ounces ground chicken, turkey, beef, lamb,
1/2 teaspoon salt
1/2 teaspoon pepper
—–
2 cups cucumber, sliced or diced
2–3 radishes, sliced (or watermelon radish)
3 scallions, thinly sliced
1 tablespoon fresh chili, finely minced (optional, or sub jalapeno, Thai red chili)
1/2 cup chopped cilantro
1/2 cup chopped mint
1/2 cup chopped basil (Thai basil elevates)
2 tablespoons fish sauce
4–5 tablespoons lime juice
1 teaspoon brown sugar, maple, or honey
finely chopped fresh chili- optional!
Serve with lettuce wraps or jasmine rice or both!
  
Directions:
Dice half the onion (you’ll need 1 cup diced) and thinly slice 1/4 of the onion ( 1/4- 1/2 cup).

Place the sliced onions in a bowl, cover with 1/2 cup hot boiling water and 2 tablespoons vinegar, place in the fridge.

Cook the meat: Heat oil in a large skillet over medium heat. Add 1 cup diced red onion, saute 3-4 minutes, add garlic, lemongrass and chili flakes. Saute until fragrant, 2-3 minutes. 

Add the ground meat, breaking it apart with a metal spatula. Season the meat with the salt and pepper and continue cooking until all the liquid releases and evaporates about 10 minutes. Drain the fat from the meat, using a fine-mesh strainer.

While the ground meat is cooking, prep the remaining ingredients. Place the cucumber, radish, scallions, mint, basil, cilantro, fresh chili (optional) in a bowl. 

Add the drained meat and the strained pickled onions. Add the fish sauce, lime juice and sugar.  Taste, adjust salt, lime and heat. I’ll usually add more chili flakes. or finely diced fresh chilies.

Serve with lettuce wraps and/or cooked rice. Serve warm or chilled. ( If chilling, make doubly sure to strain all the fat from the meat -it will harden in the fridge.)

Note: Larb will keep up to 3 days in the fridge.


Saturday, August 7, 2021

Summer Tomato Risotto With Saffron

A summery Tomato Risotto highlighting juicy, sweet, vine-ripened tomatoes, and infused with saffron.  Serve this as a vegetarian main, seasonal side dish, or top it off with smoky,  pan-seared shrimp. Vegetarian-adaptable!

Ingredients:
summer tomatoes!
onion
garlic
veggie stock
Arborio rice
saffron
salt & pepper
smoked paprika
a little pat of butter
parmesan

Directions:

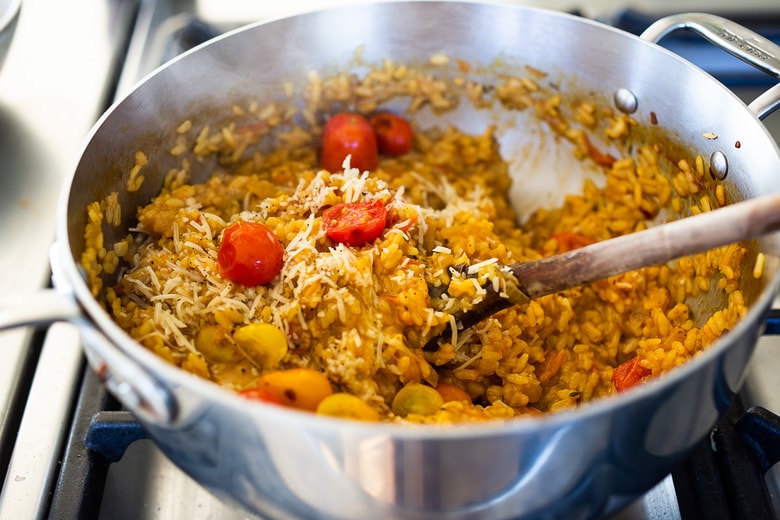
While the tomatoes soften and blister in a skillet, start the risotto by sauteing the onion until golden and tender. Add the garlic.


Add the arborio rice or short-grain rice.  Sauté until the rice becomes translucent, approximately 1 or 2 minutes.

Add enough warm broth or stock to cover the rice, about 2 cups, along with a pinch of saffron.  
If your saffron is deep and red, it will only take a pinch. If it is lighter in color- like orange or yellow, it may take a couple of pinches. Crush it in your fingers before adding.


Then add the warm stock a cup at a time, stirring frequently, letting the rice absorb it, before adding any more.

Be patient here, this will take 20-25 minutes.

At the same time, chop up your cooled, blistered tomatoes and add these along with all their flavorful juices into to the risotto pot.

Keep adding stock a cup at a time, letting the rice absorb it, each time.  I used about 6 3/4 cups of veggie stock here, but depending on heat level and the type of rice, it may take more or less.

Keep adding stock a cup at a time, letting the rice absorb it, each time.  I used about 6 3/4 cups of veggie stock here, but depending on heat level and the type of rice, it may take more or less.

Some may prefer a “looser” risotto, one that lays flat in a bowl, so feel free to add more broth, right before serving to get the consistency exactly how you like it.

At the end, the secret to the flavor is getting the salt balance right.

If it is bland, add more salt, pepper and a pinch of chili flakes.

Finish with some lemon zest for a touch of brightness.

how to make vegetarian risotto with tomatoes and saffron

Serve this as a vegetarian main, or side dish. Or feel free to add shrimp.

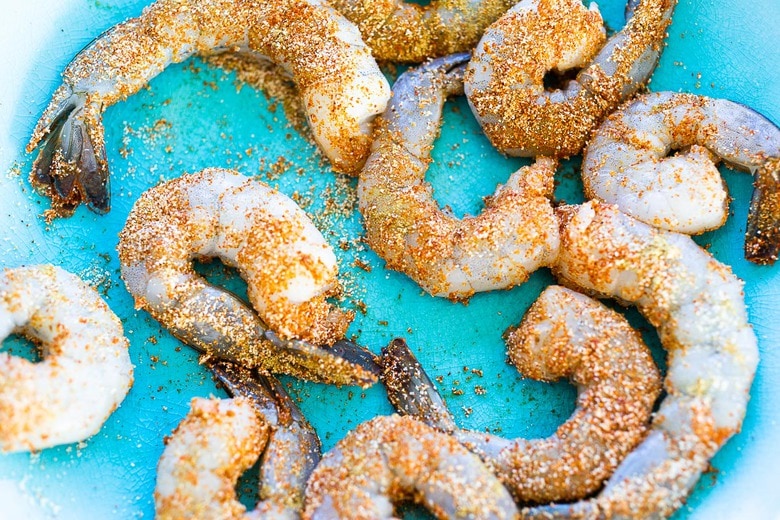
If adding shrimp, season with the spice rub in the recipe card.

smoky shrimp rub

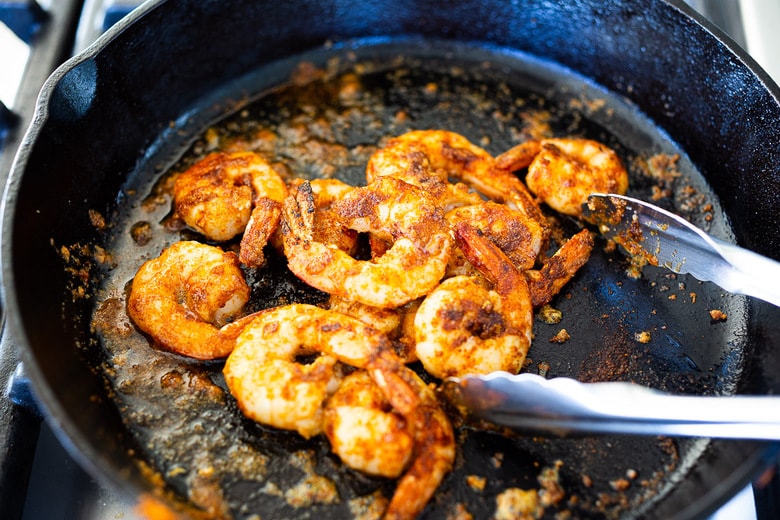
Pan-sear for a couple of minutes until golden and flavorful.

pan fried shirmp for risotto

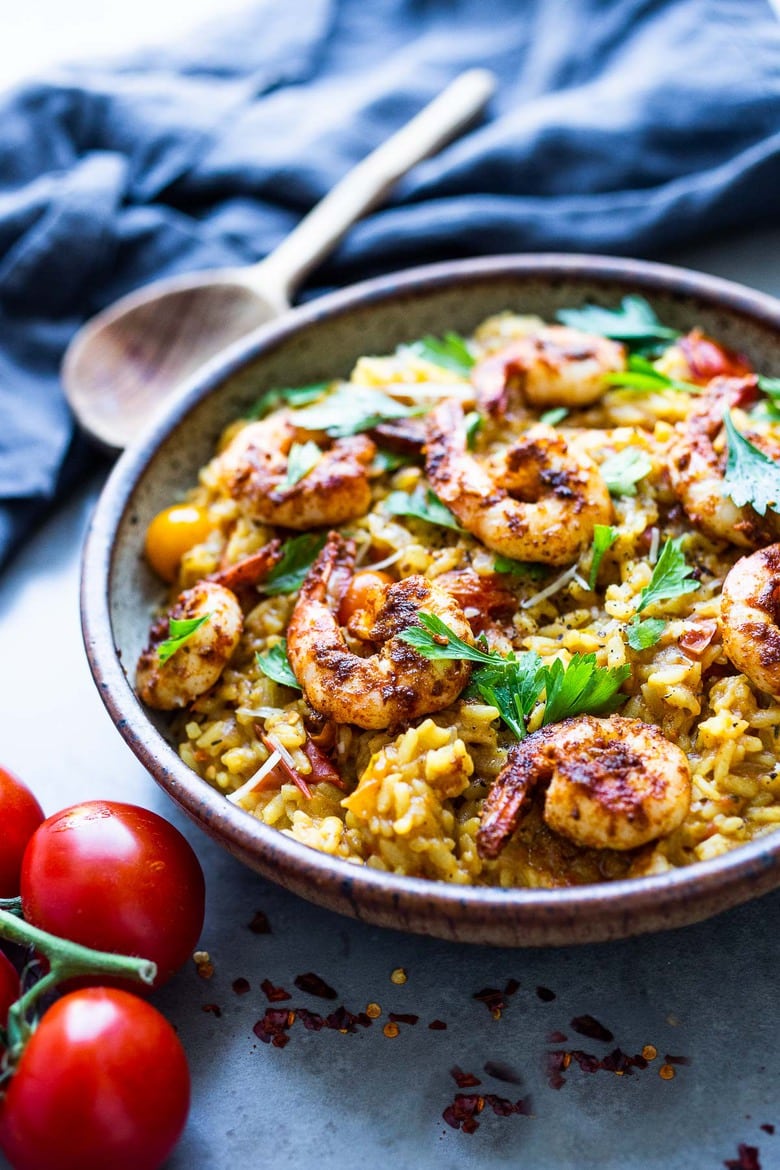
Top of the risotto with the flavorful shrimp.

Summer Tomato Risotto with juicy vine-ripened tomatoes, and infused with saffron, can be served as a vegetarian main or sidedish, or topped off with smoky shrimp. #vegetarian #risotto #shrimprisotto

Obviously, if you have both meat-eaters and vegetarians in the same house, you can add shrimp to some and leave shrimp off others. Super easy. 😉


Monday, July 26, 2021

Lemony Corona Beans with Olive Oil and Garlic

Lemony Corona Beans With Olive Oil And Garlic

Corona Beans– giant buttery white beans seasoned with olive oil, garlic, fresh herbs and lemon zest. Serve as a vegan main or side dish or add to salads and Buddha Bowls. Rancho Gordo.com for heirloom beans.  They sell the best beans.

Ingredients:
1 lb dry Royal Corona Beans (or substitute white beans or cannellini beans), soaked in water 4–12 hours with 2 tablespoons salt.  (see notes)
2 teaspoons kosher salt
2 bay leaves
3 celery sticks, cut into 3 inch pieces
1 onion, quartered
4 garlic cloves, smashed
a few fresh sage leaves or thyme sprigs ( optional)
3 tablespoons olive oil
zest of one lemon
¼ cup fresh parsley leaves
salt and pepper to taste
Aleppo chili flakes ( or regular), optional.
another option: a couple spoonfuls of Chermoula , Gremolata or Zhoug


Directions:

Place soaked beans in a large dutch oven ( or Instant Pot) and cover with 3-4 inches of water.  Add salt, celery, garlic, onion, bay leaves and herbs.

Bring to a boil, lower heat and cover, simmering until tender, about 1 ½-2 hours.

Drain, saving liquid and remove aromatics. Place in a serving dish or back into the pot, adding back ½ cup-1 cup of the warm cooking liquid, olive oil, lemon zest, fresh Italian parsley and salt and pepper to taste.

For an extra burst of flavor stir in a couple tablespoons of chermoula, gremolata or zhoug!


Notes

To make in the instant pot, place the soaked beans and cover with 4 inches of water. Add salt, celery, garlic, onion, bay leaves and optional herbs. Add a tablespoon of oil ( to minimize foaming)


Pressure cook Royal Corona Beans on High for 60 minutes. Naturally release. Continue with recipe. Pressure cook White Beans 25-30 minutes, Cannellini Beans 35-40 minutes.

*Adding salt your soaking water and your cooking water will actually help soften tough skins ( it helps break apart the calcium and magnesium ions in the outer skin) which makes the skin softer and more permeable, allowing water to penetrate more easily into the bean itself, and promotes even cooking. I realize there are a lot of opposing views on this out there- and for years I never salted until after cooking, but I’ve found I have better results ( better texture and flavor) with salting- and especially salting the soaking water. Do whichever method you please. 🙂