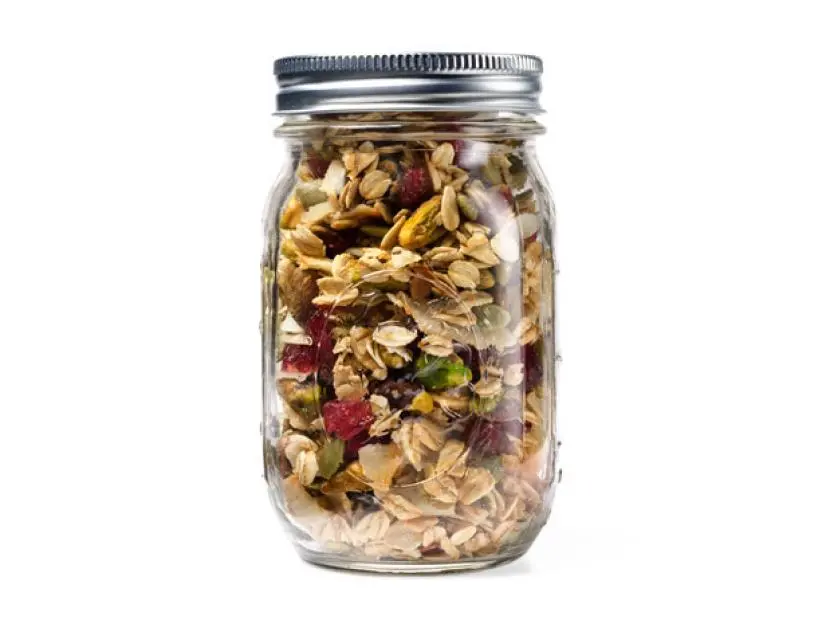
Eleven Madison Park Restaurant was rated the best restaurant in the world. Following dinner, guests were gifted with a jar of granola. It is 5*****.
Ingredients: 2 3/4 cup oats 1 cup pistachios 1 cup unsweetened coconut chips 1/3 cup pumpkin seeds 1 tsp salt
Bring the next three ingredients to a boil stirring until lt. brown sugar is dissolved: 1/2 cup lt. brown sugar 1/3 cup maple syrup 1/3 cup EVOO
Directions: Place the oats, pistachios, coconut chips, pumpkin seeds and in a large bowl.
Place the sugar, syrup and EVOO in a pan over low heat. Stir until lt. brown sugar is dissolved.
Pour the boiled mixture over the oat mixture in a large bowl and mix well. When well coated place in baking pan with tall sides lined with parchment paper and bake at 300*F for 15 minutes and 225*F for the remainder of the time 2 to 3 hours until the mixture appears dry and caramelized.
When baked and golden, remove from oven and allow to cool. Place cooled granola in a large bowl and add 3/4 cup dried sour cherries. Mix well to coat the cherries with granola. Place in air tight container. Yield 9 cups.
When baked and golden, allow to cool. Place cooled granola in a large bowl and add the cherries, mix well. Place in a storage container.
Although rye is often associated with bread, we think this classic grain has endless possibilities when introduced into other baking categories. In this scone, pumpernickel flour adds a subtle dimension to flavors from other grains. We enjoy the tasty wholesomeness of these scones served plain, but for over-the-top tastiness, we recommend adding the glaze. King Arthur Flours.
Prep: 15 mins Bake: 15 to 18 mins Yield: 8 scones
Ingredients Scones 8 tablespoons (113g) unsalted butter, cold, divided 1/2 cup (64g) Six-Grain Blend or old fashioned oats 1/2 cup (57g) Whole Wheat Flour 1 cup (106g) pumpernickel flour medium rye flour 1 tablespoon baking powder 3 tablespoons (35g) sugar 1/2 teaspoon salt 2 large eggs 1/3 cup (74g) milk (try reducing to 1/4 cup) Glaze: 2 tablespoons (28g) unsalted butter, browned 3/4 cup (85g) confectioners' sugar 1/4 teaspoon vanilla-butternut flavor or 1/2 teaspoon vanilla extract 1 to 2 tablespoons (14 to 28g) milk
Directions:
To make the brown butter: Melt, then cook 5 tablespoons of the butter in a saucepan over medium heat, swirling occasionally, until golden brown. Pour into a heatproof container, cool slightly, then freeze until solid, about 2 hours. Illustrated directions follows.
Scones:
Preheat the oven to 425°F. Line a baking sheet with parchment.
Combine the 6-grain blend, flours, baking powder, sugar, and salt until well blended.
Work both the chilled brown butter and the additional 3 tablespoons butter into the flour mixture until unevenly crumbly.
Combine the eggs and milk, then mix into the flour-butter mixture.
Turn the dough out onto a floured surface and pat it into an 8" disk. Cut into 8 wedges and place on the baking sheet.
Bake the scones for 15 to 18 minutes, until golden. Cool slightly before glazing.
To make the glaze:
Brown the butter as you did for the scones, then combine all the ingredients, adding enough milk to make a spreadable glaze. Glaze scones while still warm, and serve.
Store any leftover scones well-wrapped, at room temperature, for several days. Freeze for longer storage.
How to make brown butter:
How does regular butter become brown butter?
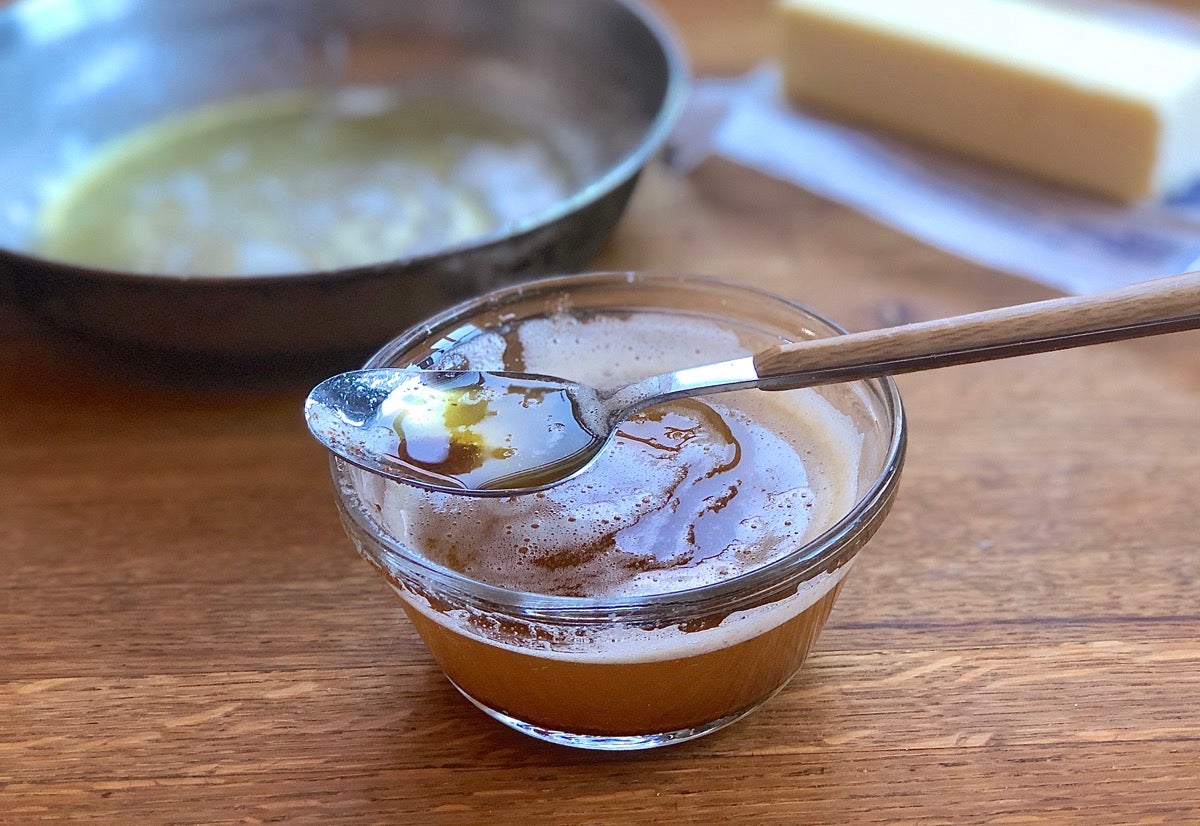
Brown butter is butter that’s heated until its water evaporates and its milk proteins and sugars (specifically, lactose) turn brown. This process is an example of the Maillard reaction, a chemical interaction between amino acids and sugar that results in darkened color and the production of a variety of flavor compounds. The Maillard reaction is responsible for the “toasty” flavor in a slice of breakfast toast, the delicious crispy edges of a chocolate chip cookie, and the rich flavor of a golden-brown croissant.
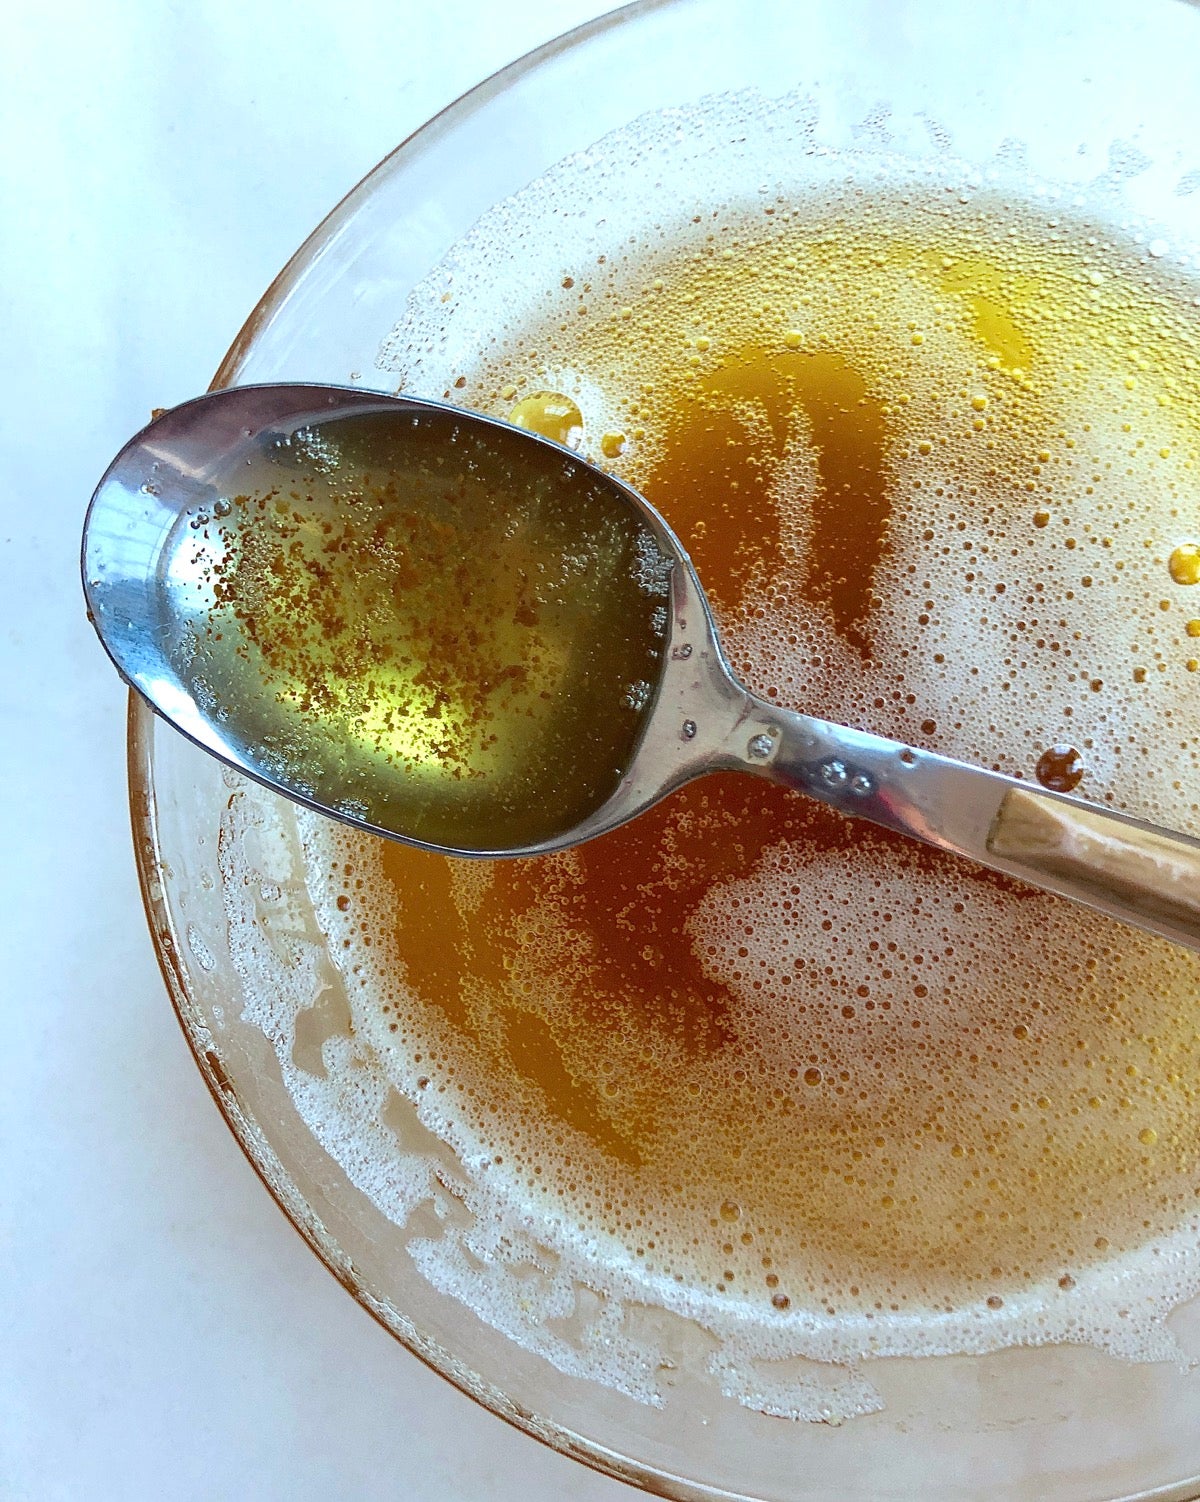
When butter is melted and then simmered, it gradually separates into two parts: its inherent fat, and its milk solids, which drop to the bottom of the pan. The fat darkens somewhat, but the silty looking milk solids brown significantly, moving from light mahogany to almost black as the butter simmers.
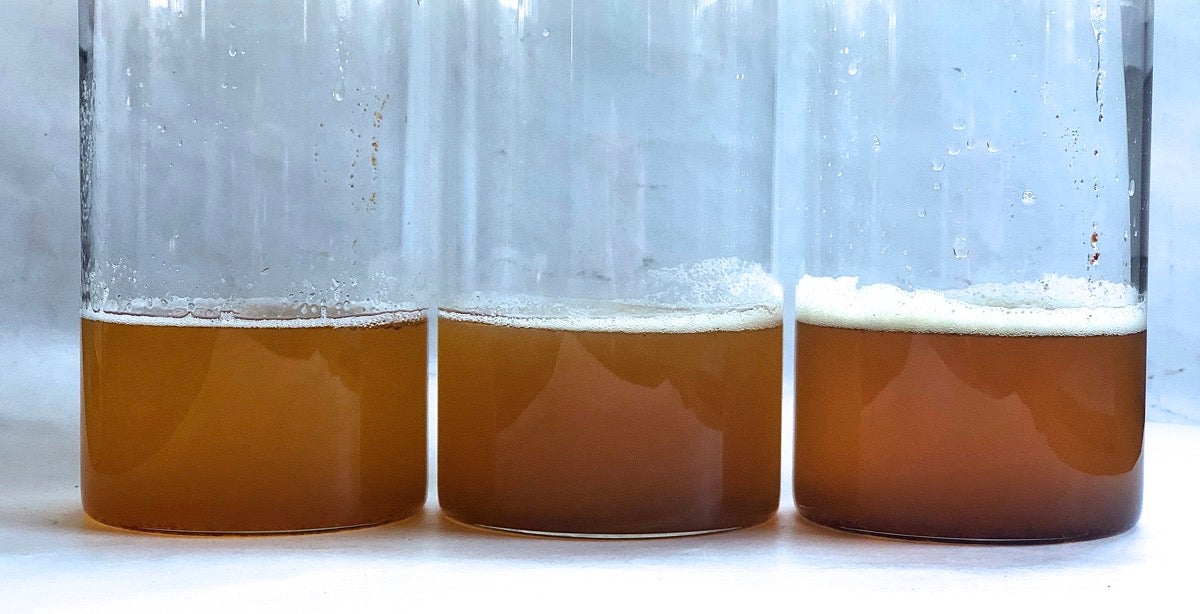
Three "strengths" of brown butter. Note the base of each jar, where you can see the dark milk solids. The jar on the left is light brown butter, the one on the right darker, and the one in the center darker still.
Brown butter’s flavor reflects the color of its milk solids: very light solids give the butter mild flavor; dark solids, a much richer, “toastier” experience.
For comparison's sake think of maple syrup, whose grades range from light amber to dark/robust: the darker the syrup, the more maple-y it tastes. Thus with brown butter: the darker it is, the stronger its butter flavor. (Stop short of letting that sediment turn black, though: blackened butter is bitter.)
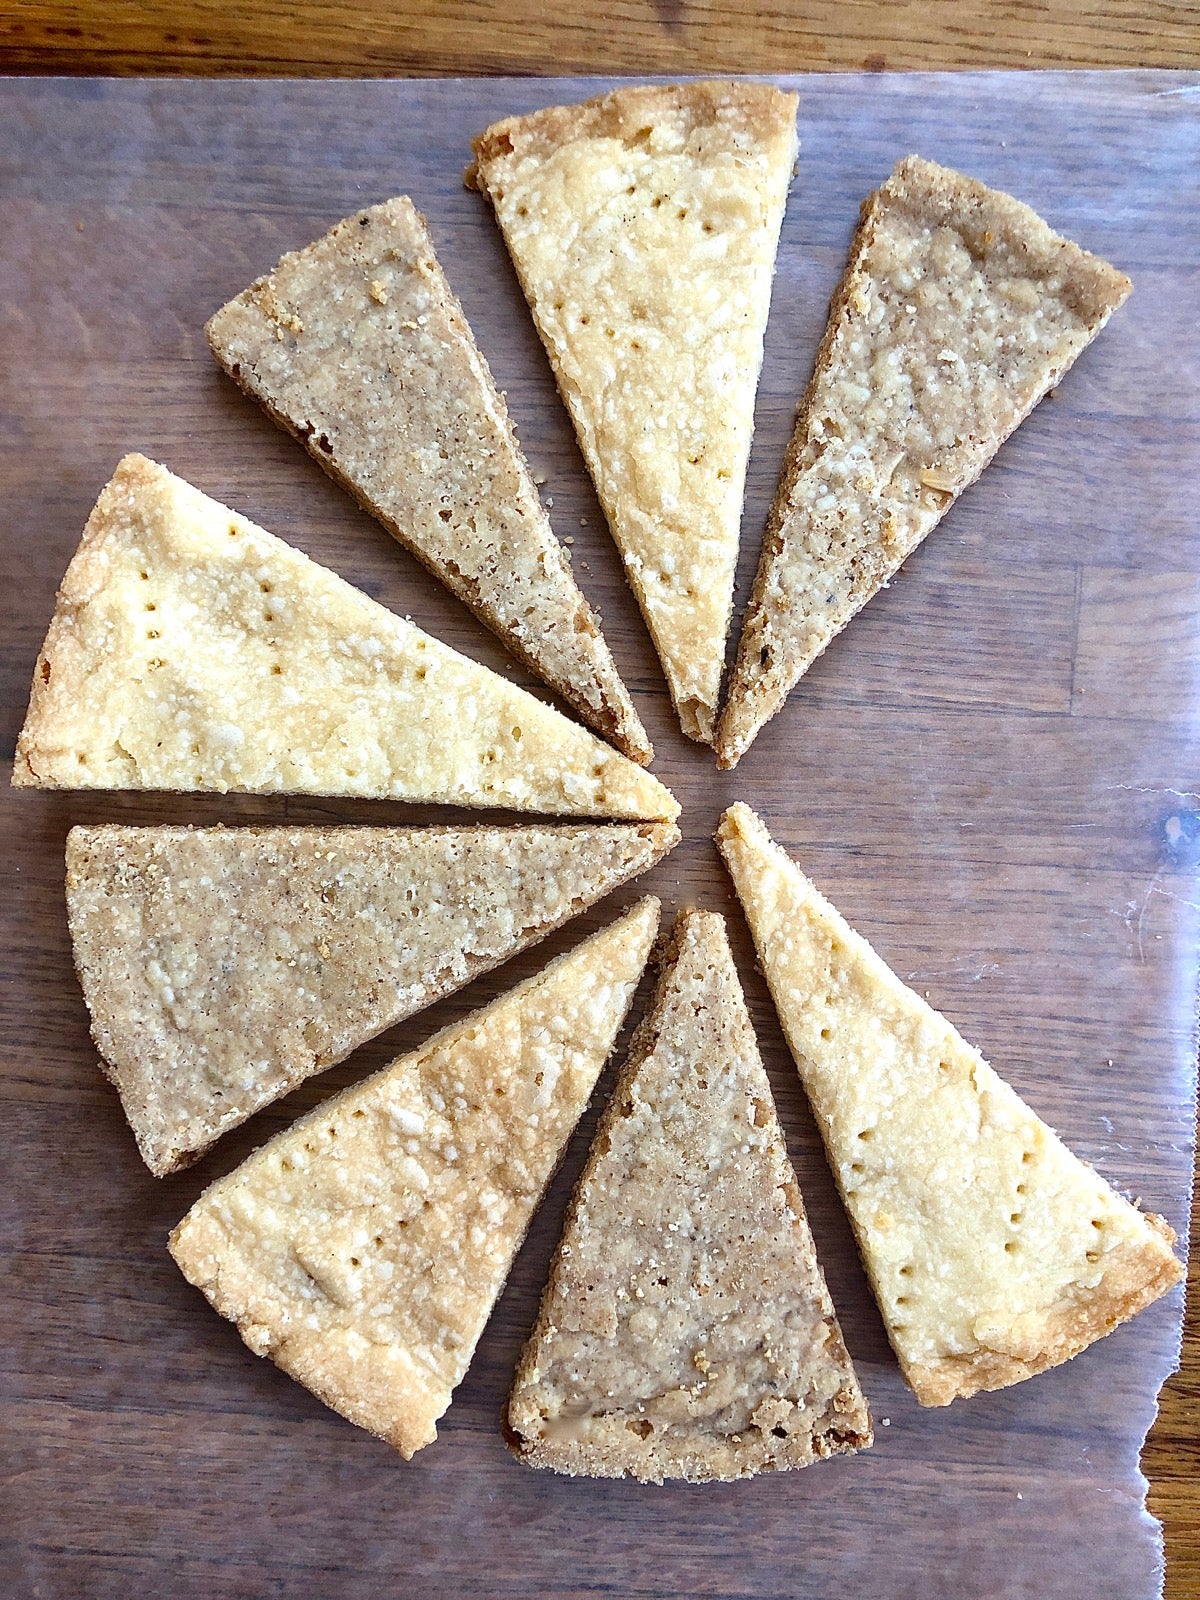
Two batches of shortbread, one made with brown butter, one with standard butter. Notice the difference in color.
What can I bake with brown butter?
Use brown butter just about everywhere you’d use regular butter, including in cookies and cake, biscuits and pie crust, scones and muffins and pastry. It's also superb in icings and frostings: try it in our favorite Italian Buttercream, or Soft Cookie Frosting.
A couple of caveats: Brown butter may darken the color of lighter baked treats like sugar cookies and yellow cake. Also, brown butter's dark flecks may be visible. Just think of them as you would vanilla bean specks: indicative of wonderful flavor.
How to make brown butter
This is a really easy process — but it’s not foolproof. You either pay attention, or pay the price: burned, bitter butter. Still, 10 to 12 minutes at the stove isn’t onerous, and brown butter is certainly worth the effort.
I typically use 8 ounces (227g, 16 tablespoons, two sticks) of unsalted butter. Why unsalted? Salted butter runs the risk of becoming too salty as the butter’s liquid evaporates. Salted butter also tends to foam more as it melts, making it difficult to see the butter underneath changing color.
First, choose a light-colored pan. This will allow you to easily track the butter’s progress from amber to dark gold to chestnut brown.
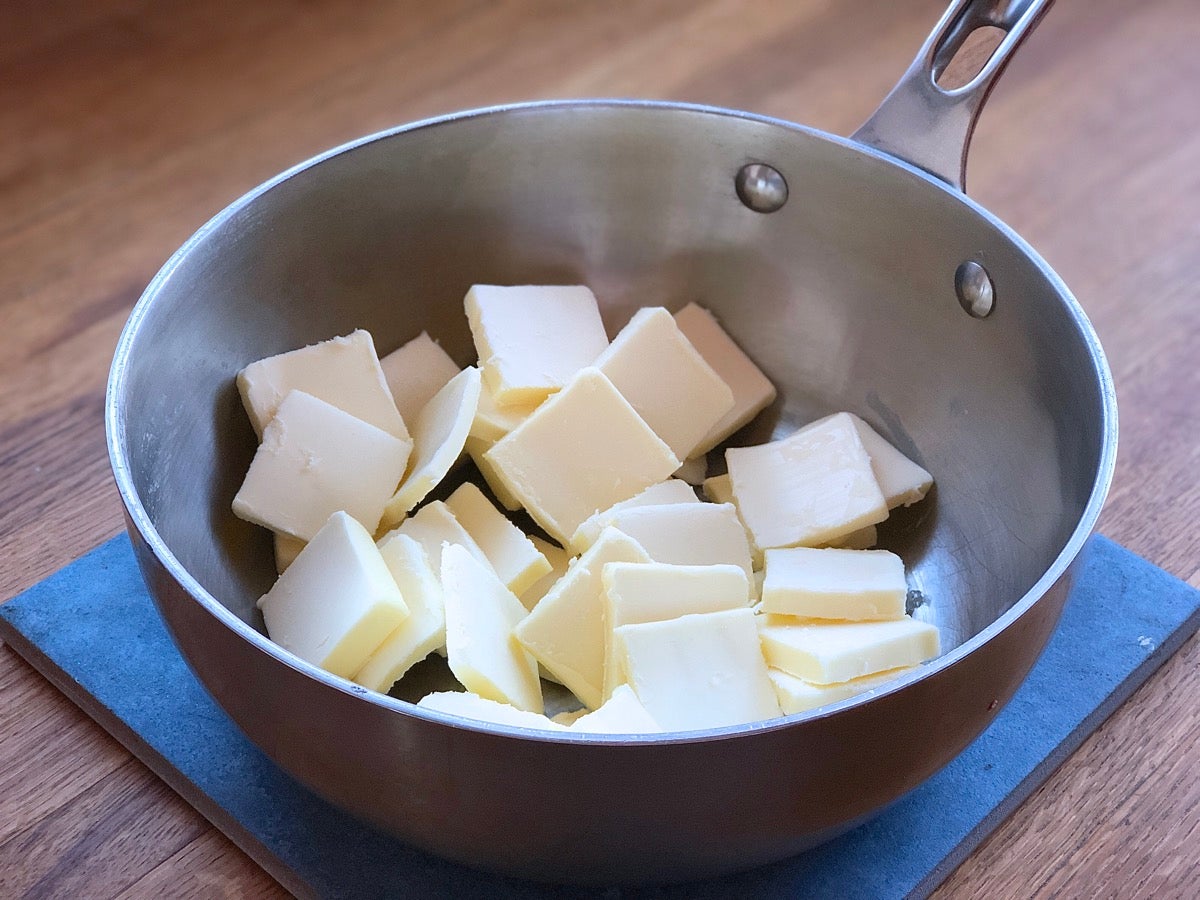
Cut butter into uniform pieces so it heats evenly. While it’s tempting to just throw a couple of sticks of butter into the saucepan and forget about it, take the time to cut the butter into pats. This will ensure the butter melts evenly, a key to making brown butter that’s neither undercooked nor burned.
Place the pan on a burner set to medium heat. You’re looking for a very even heating experience. Using medium heat is a good compromise between high heat (too much risk of burning) and low (too slow)
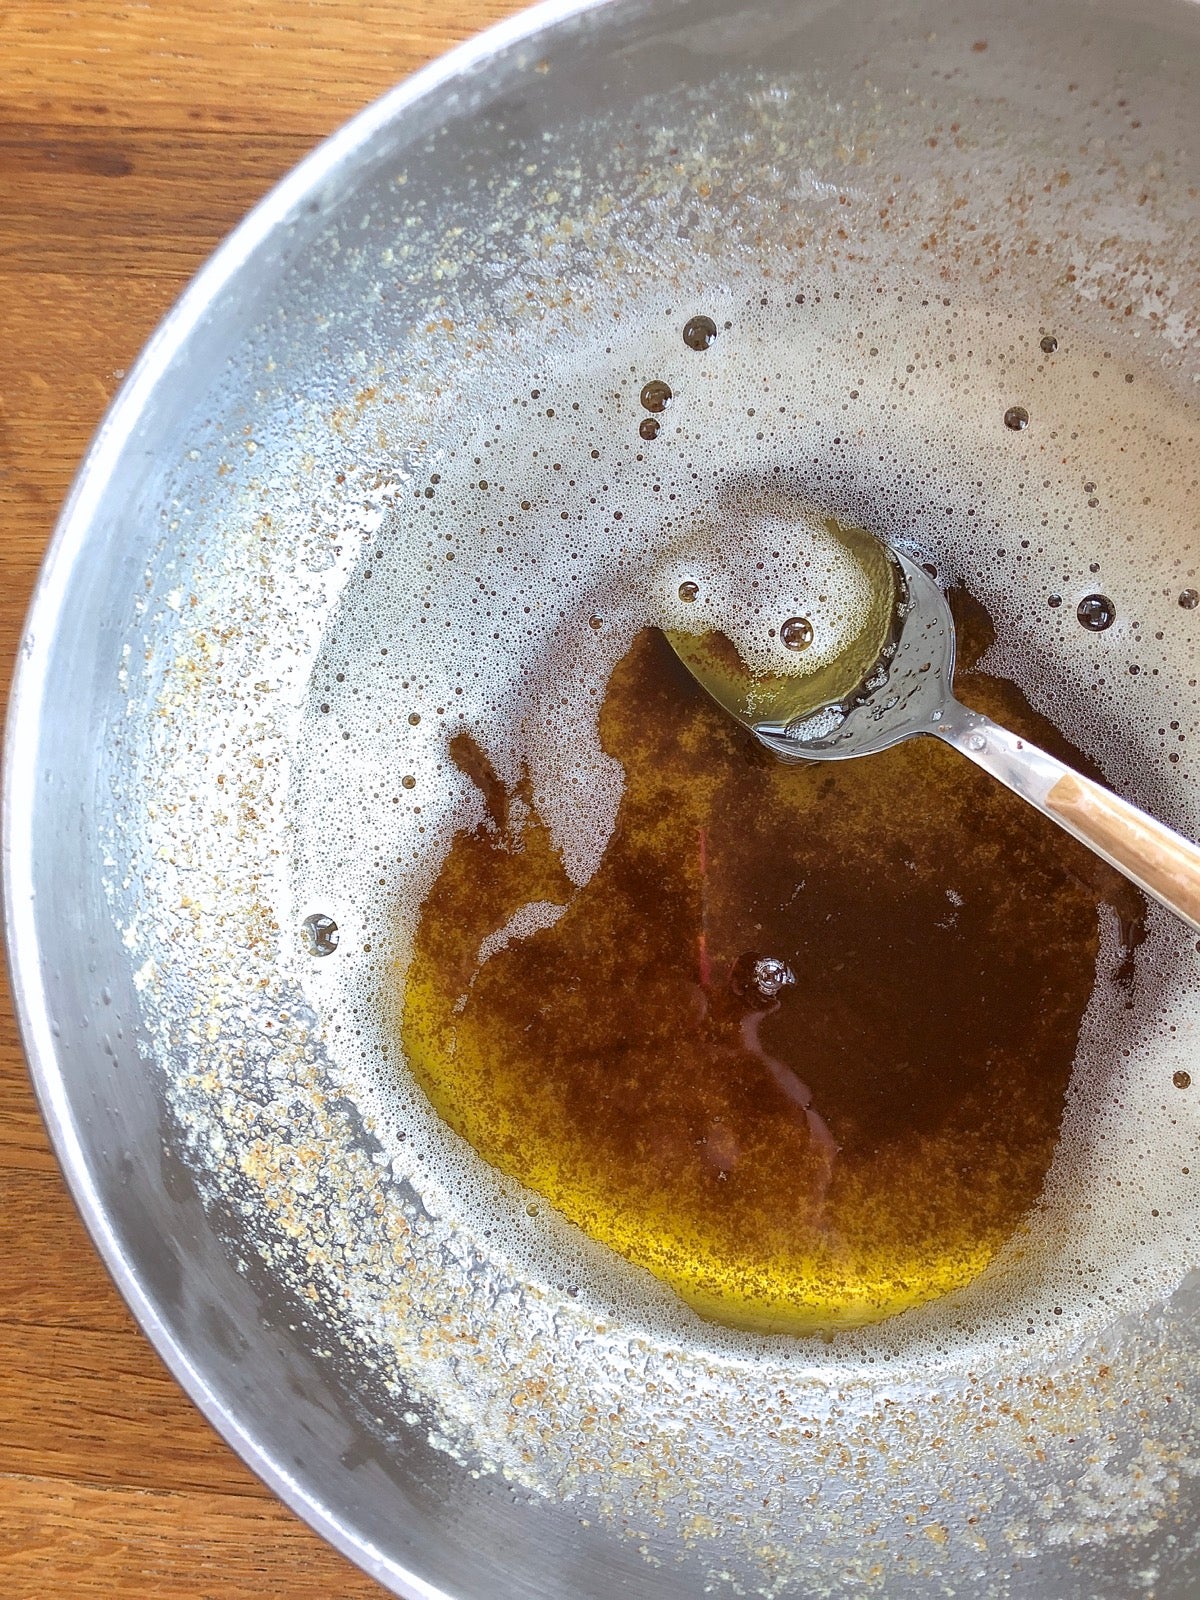
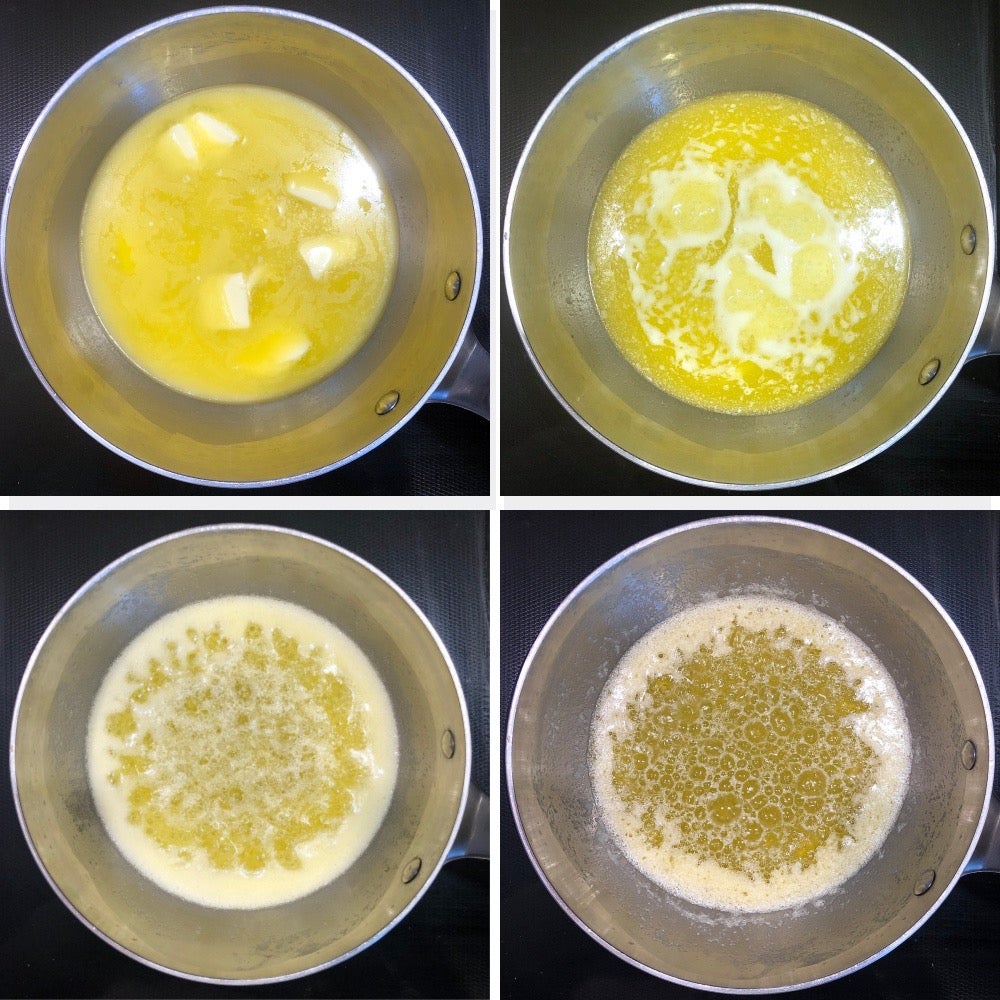
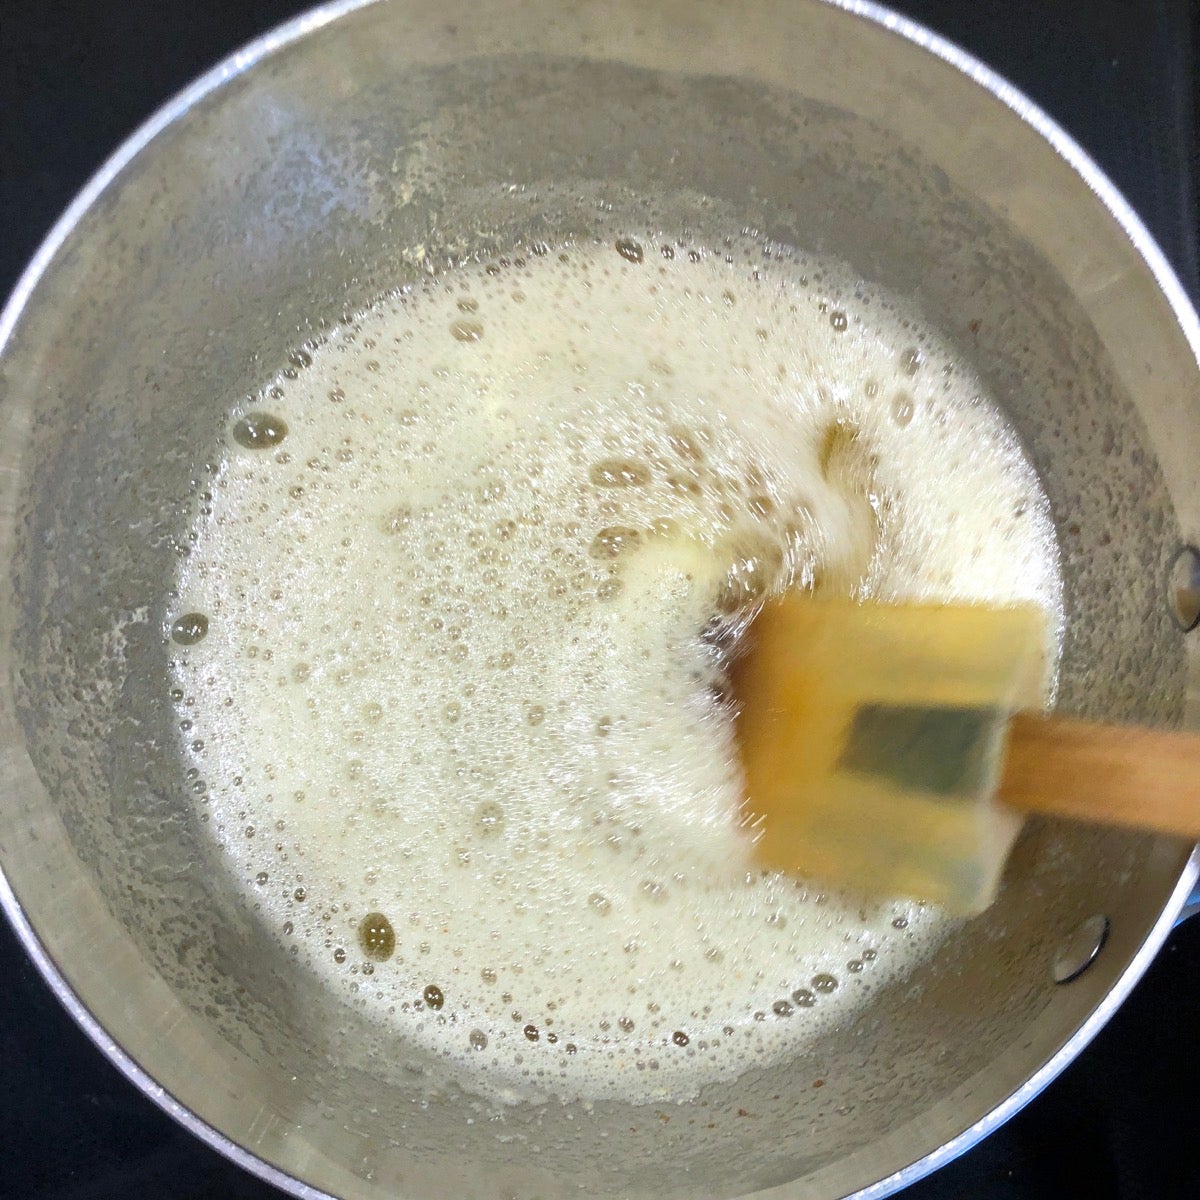
The butter gradually melts (photo at top left), then starts to sputter and pop as its water evaporates (top right). Foam collects on top as the butter continues to simmer (bottom left). The bubbles eventually become larger, pushing the foam to the sides of the pan and giving you a better view of the darkening milk solids underneath (bottom right).
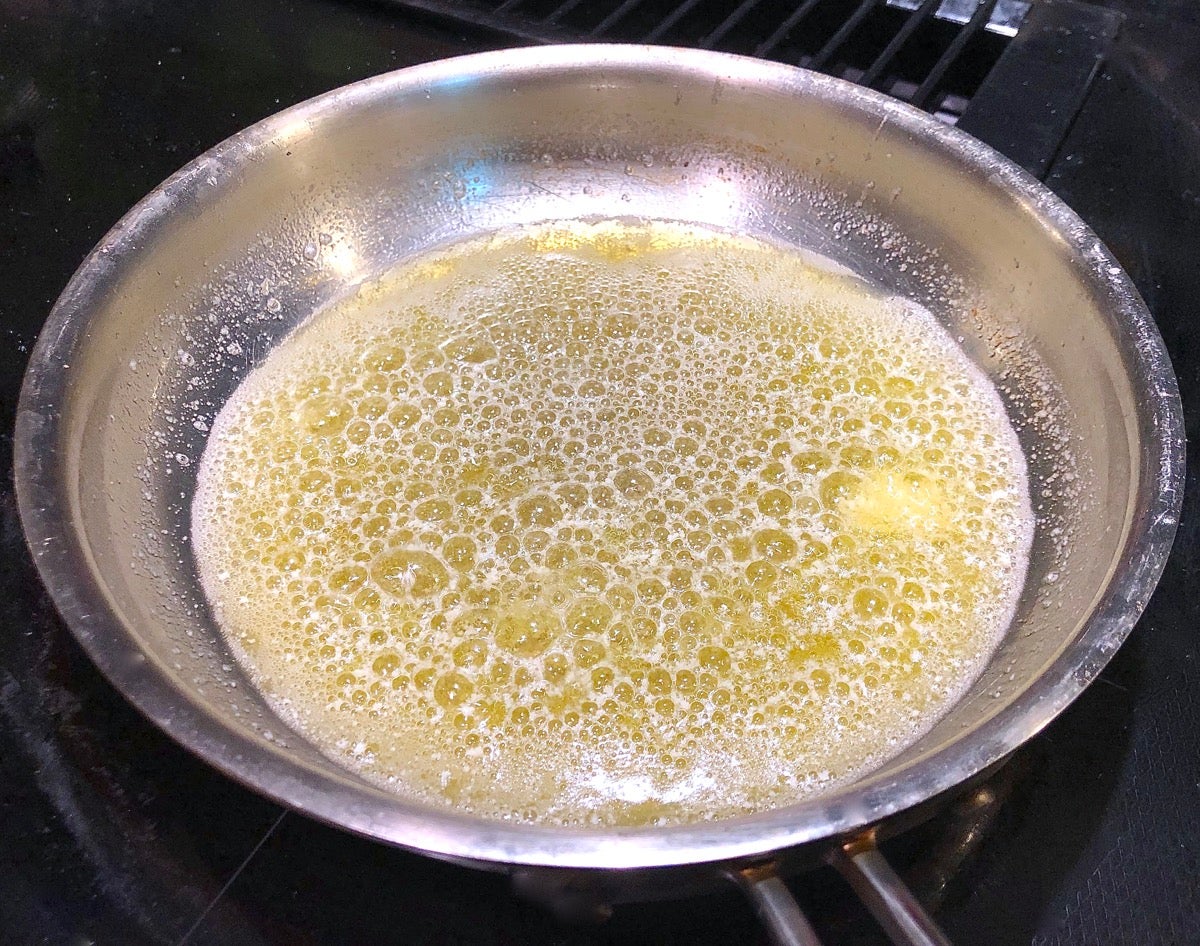
Once the butter has stopped popping and sputtering and started foaming, swirl the pan to help clear the foam to the sides, and stir up the dark bits at the bottom with a heatproof spatula. Swirling and stirring keep the bits from burning.
When the butter has browned to your liking, remove the pan from the heat. You may prefer the mild flavor of barely browned butter, or the more intense taste of butter with a generous amount of deep brown milk solids; it's up to you.
In France, brown butter is called beurre noisette: hazelnut butter, referring to the preferred color of the browned solids. For added flavor leave the pan on the heat beyond this point, long enough to yield solids that are a really deep mahogany brown.
Once the butter is as brown as you like, speed is imperative: immediately remove the pan from the heat and pour the butter into a heatproof container, to stop it cooking any further.
If your recipe calls for melted butter, you can use brown butter immediately. But if your recipe calls for softened, room temperature, or cold butter, you’ll need to refrigerate it first.
Brown butter becomes rock hard in the refrigerator, making it appropriate for recipes that need cold butter to be “worked” into flour (think biscuits and pie crust).
For recipes calling for room-temperature butter, remove brown butter from the fridge an hour or so ahead of time, just as you would regular butter. For softened butter, give room-temperature butter a few quick stirs; it should loosen up nicely.
Brown butter keeps well for several weeks in the refrigerator; store it airtight. A glass jar is your best bet.
Brown butter tips
Adjust the liquid in your recipe if necessary. Since butter is 15% water, you need to adjust your recipe to make up for the liquid that evaporated from the butter during the simmering process. Add 1 tablespoon (14g) water (or other liquid) for every 1/2 cup (8 tablespoons, 113g) of butter used. Failing to add this extra liquid may yield a somewhat greasy final result, especially in something like chocolate chip cookies.
For the biggest bang, use brown butter in butter-forward baked goods. While brown butter will make everything taste better, the difference in flavor is more apparent in baked treats that use a lot of butter and don’t offer a lot of competing flavors. Plain cookies (shortbread, sugar cookies), pie crust, puff shells (choux paste), flaky pastry, and biscuits are good examples.
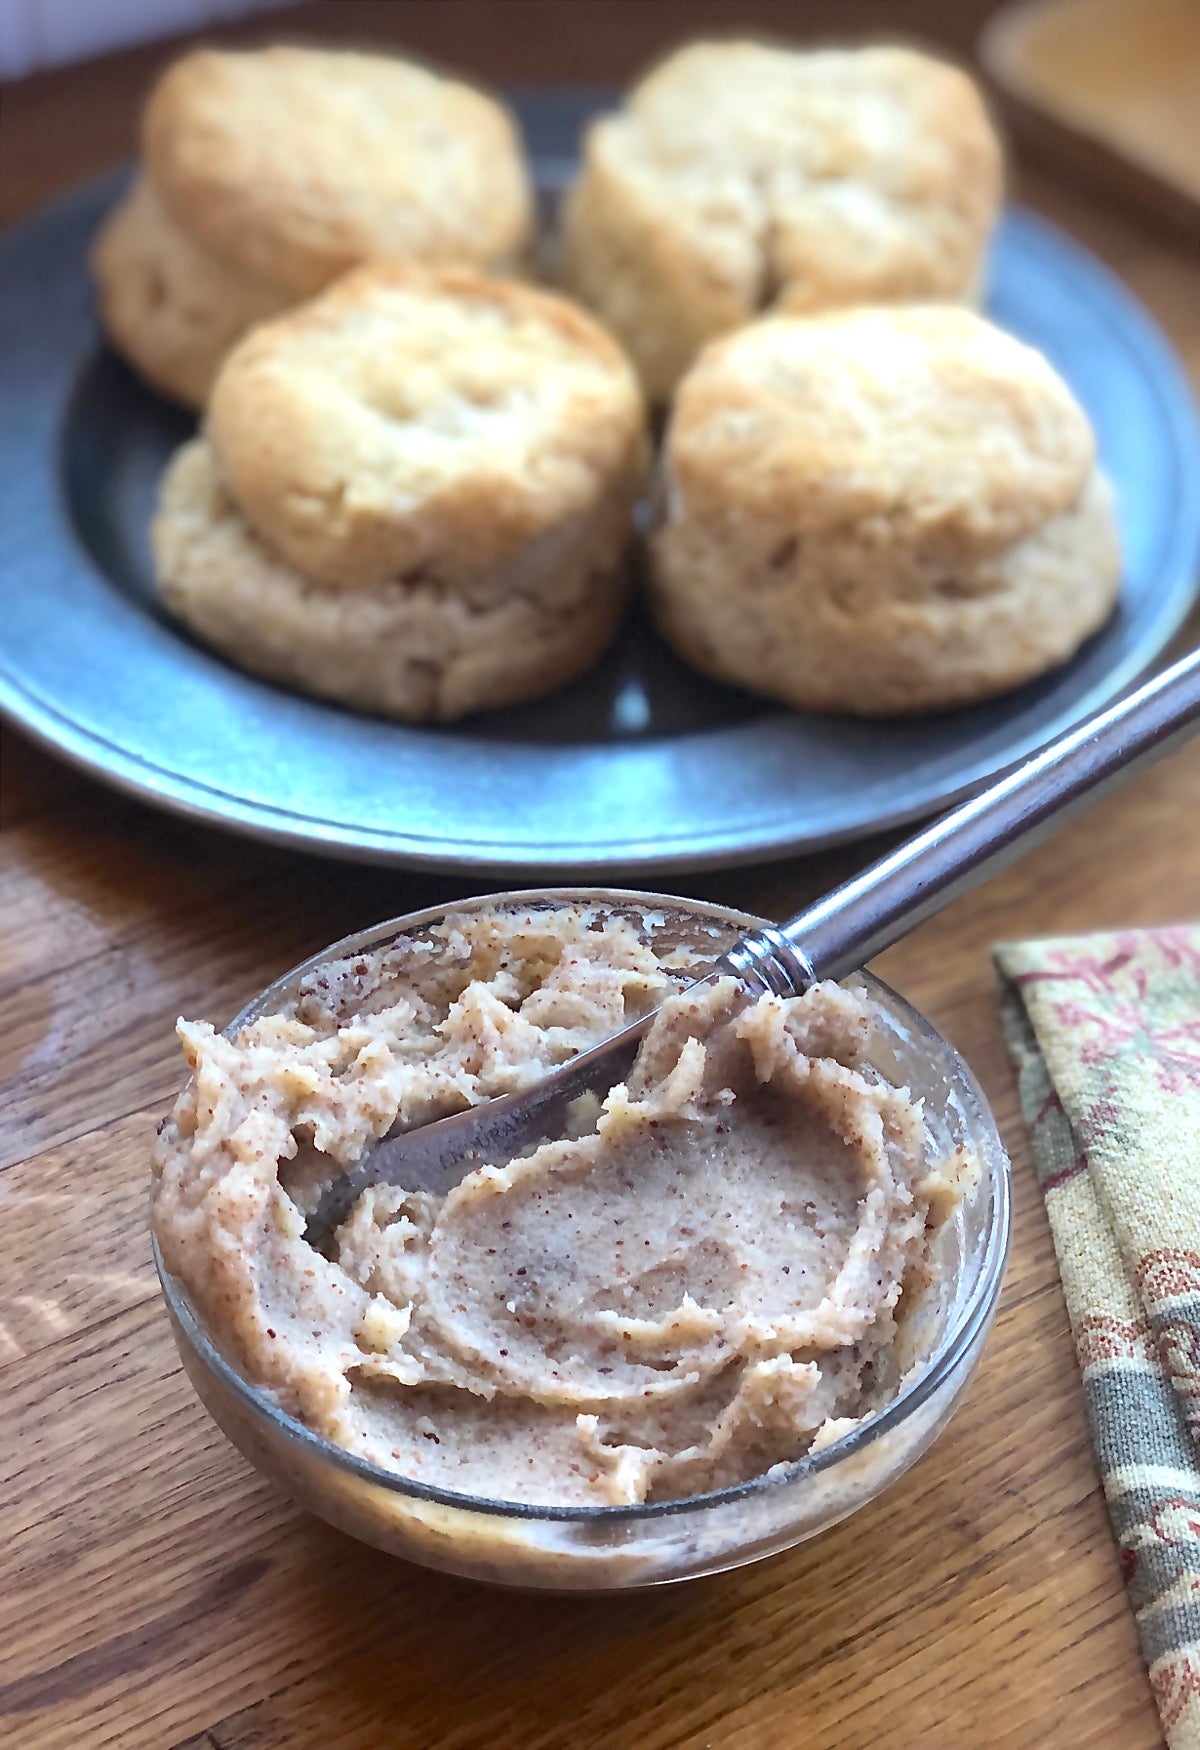
Brown butter's not just for baking. Drizzle melted brown butter onto cooked vegetables or fish, or use room-temperature brown butter as a spread on toast, pancakes, scones, muffins, or biscuits. It's also wonderful, as you'd expect, on popcorn.
Store any leftover scones well-wrapped, at room temperature, for several days. Freeze for longer storage.
Mothers Day 2007 was the inception of the blog, Dine With Donna. I enjoy the challenge of preparing a variety of foods. Growing up in a large Catholic family in the Midwest, my cooking skills were inspired as my mother's kitchen assistant. If you choose to use a recipe, please post a comment or suggestion that will help another person coming to the blog.